New year, new beginnings (and a fun tutorial!)
The early stages of creating a new collection are my absolute favorite. I love trying my hand at new techniques, even combining them with tried and true techniques, and just staying open to all possibilities. The beauty of being a textile designer is that I am not limited to any medium and the possibilities are endless!
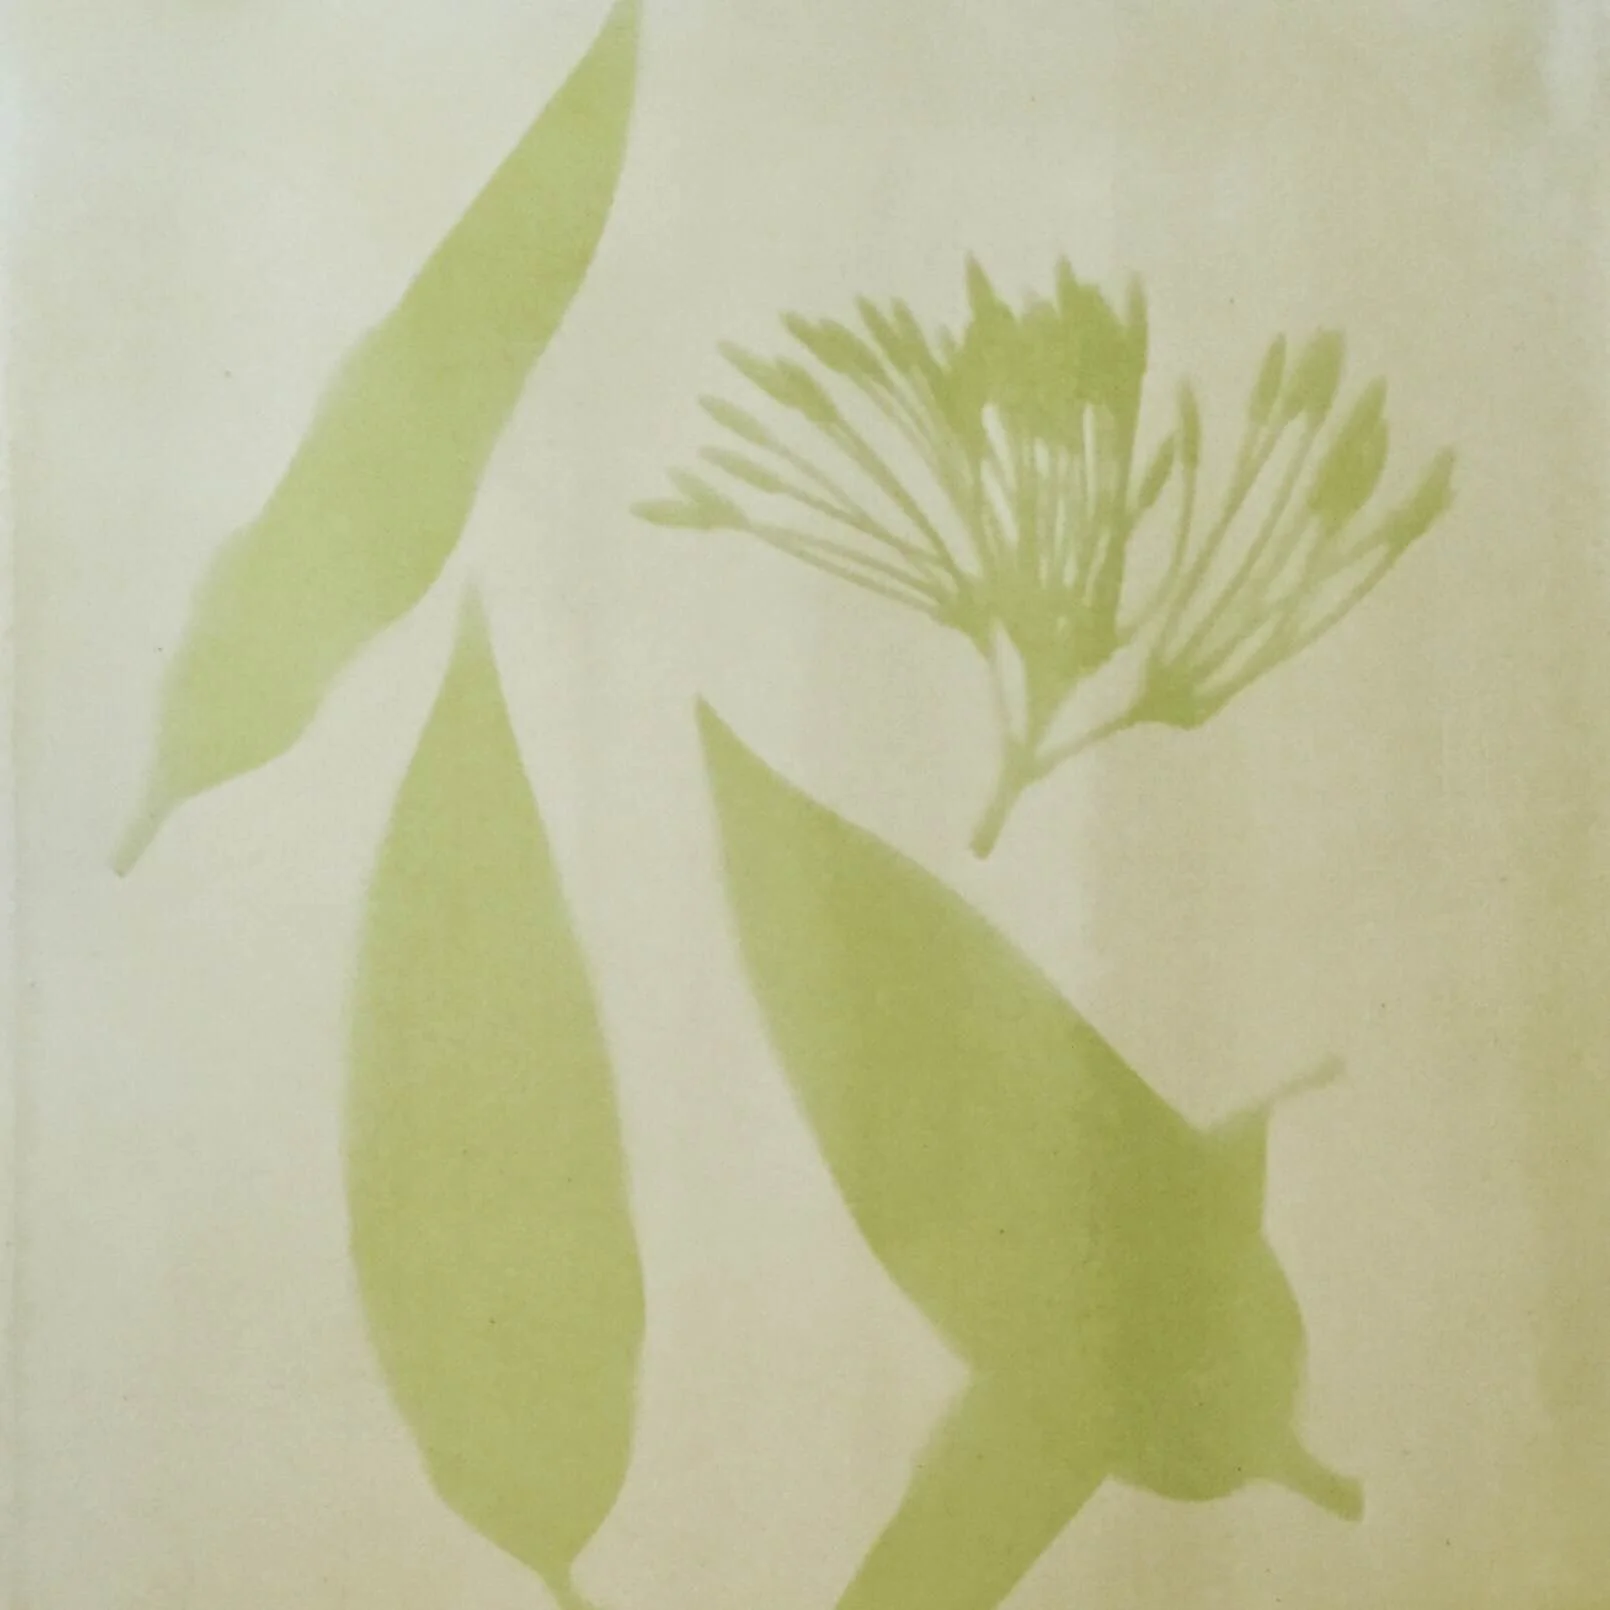
In December, I retreated to my parent's home in Longboat Key, Florida to start creating elworthy studio's next collection. After visiting a photography exhibit at the Getty Museum last fall, I'd been feeling inspired by alternative photography methods and wanted to experiment. The month was fruitful, and I came back to San Francisco with a pile of photographic studies/prints to work from. You can see a few examples below. The next step is to explore how these prints will evolve into finished designs.
(Pictured left to right: Anthotypes, Lumen prints, and Chemigrams)
I had so much fun learning these camera-less techniques and thought it would be fun to share a tutorial with you so you can create beautiful prints at home!
Anthotype Tutorial
Anthotypes are photographic prints made using photosensitive material from plants and the sunlight. Simple, right? Almost. They actually require some trial and error, as well as patience, but the results can be quite lovely. And guess what else? The entire process is environmentally friendly, yay!
What you need:
- watercolor paper (or blank watercolor greeting cards!)
- a brush to apply the emulsion
- mortar and pestle or food processor
- fine mesh strainer (or coffee filter)
- glass bowl
- a piece of clear acrylic or glass
- a flat sturdy surface (cardboard, a tray, a small table, or large book would all work)
- flower petals, leaves, berries, spices etc (try to pick flowers at their peak for best pigmentation)
- paper stencils, leaves, flowers, lace...any relatively flat object to create the print with
Cut plant matter into small pieces, then grind to a pulp using the mortar and pestle or food processor. Add a small amount of distilled water to make a thick, pulpy soup. Don't add too much water as it will distill the color...just enough to get a consistency that can be applied with a brush. Strain the emulsion with a fine mesh strainer or a coffee filter into the glass bowl. Use a spoon to squeeze the excess liquid out.
Dip your brush into the emulsion and coat the paper using a thin layer. Try brushing in one direction then rotate paper 90 degrees and brush again. This crosshatching should eliminate any visible brush marks. You can apply a second (and even third) coat if the base color looks pale. You can even try dipping the paper into the emulsion for a more even coating. Once you are done coating, lay the paper flat in a dark place to dry.
Now you are ready to print! Decide which objects you want to use to create your print...leaves and flowers for an organic look, paper cutouts for something geometric. Total freedom here. Place the paper onto a flat sturdy surface, then arrange objects onto the coated paper. Once you are happy with the look and composition of the objects, cover them with the acrylic or glass sheet and bring it outside into the sun.
Exposure time will vary greatly, depending on your plant emulsion. Here is where the trial and error (and patience) come in! Gradually, the exposed areas will lighten, and the covered areas will remain dark, creating contrast. Not all emulsions are created equal, and about half of mine didn't create any print at all! But to make your life easier, I've included a list of some that did work, and their approximate exposure times:
Spinach- 3 coats, exposed for about 3-4 hours in strong sunlight
Red wine- 3 coats, exposed for 5 days in varied sunlight
Blackberry- 2 coats, exposed for 5 days in varied sunlight (but was very faint...I'd suggest exposing for at least a week, perhaps longer)
Marigold- 3 coats, exposed for 1 day in strong sunlight
Bougainvillea- 3 coats, exposed for 3 days in strong sunlight
Others to try: Pansies, Tulips, Poppies, Petunias, Raspberries, Red Currants
When your print is done, put it on display! I haven't found a way to "fix" anthotypes so recommend keeping them in lower light areas (i.e. not a wall that gets direct sunlight). Once you've gotten the hang of this process, try creating anthotype greeting cards using blank watercolor paper cards!
I hope you enjoy experimenting with this photographic process as much as I did! Feel free to ask any questions or share your results (info@elworthystudio.com).


